
Boost productivity: Converting MIDI input to keystrokes with Python
This post showcases the process of capturing MIDI input with Python and translating it to interact with many different applications.
# Introduction
You might be wondering, what is MIDI? Or why would someone want to translate it to keyboard actions?
MIDI (Musical Instrument Digital Interface) is a communication protocol developed in the early 1980s to standardize communication between keyboards and synthesizers. Previously, there was no standard protocol and hence incompatibilities were often encountered. With the development of sequencing software for computers it did not take long before computer software could also use the MIDI protocol1.
The MIDI protocol works by sending certain MIDI messages back and forth between the MIDI controller and whatever it is that you want to control. Since we will work with MIDI messages in an alternative way I will not get into greater detail on how MIDI messages work in general.
The most important thing for this post to know is that a MIDI controller can look in many different ways, it can have rotary knobs, buttons, sliders as seen on the image below and probably many other components. MIDI controllers are great to work with as they allow you to take your hands of the mouse and keyboard and control applications more intuitively. 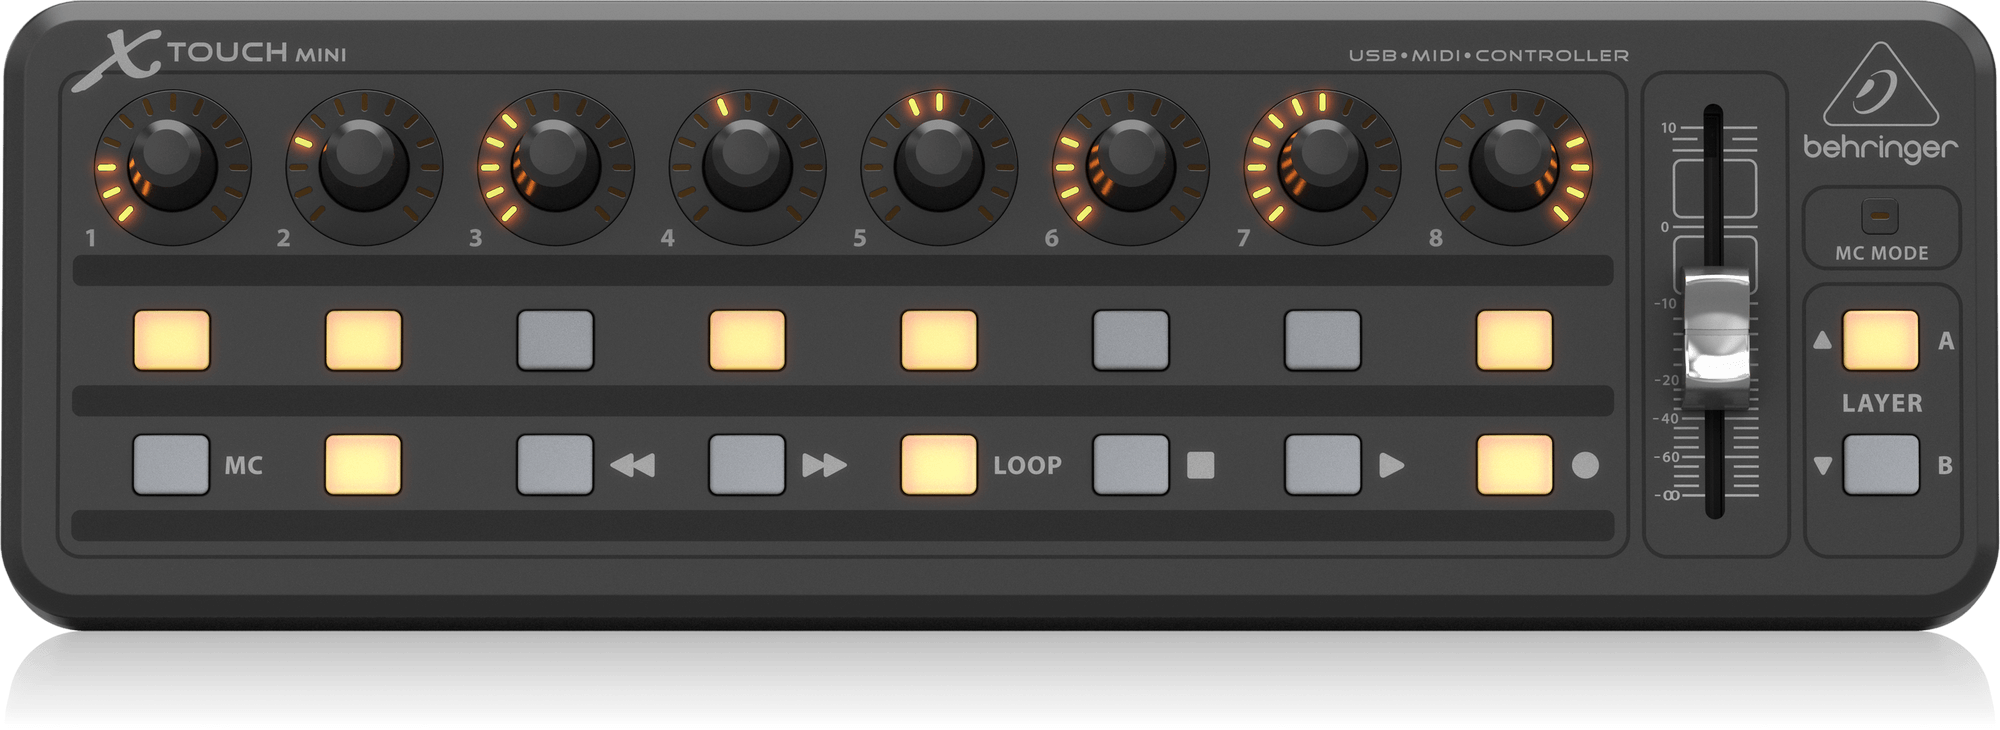 Behringer X-Touch-Mini. Also the MIDI controller of my choice. Product image by Behringer.
If you wish to read more about the MIDI protocol I will leave a link to an article, Introduction to the MIDI Standard, from the Center for Electronic and Computer Music: Indiana University Jacobs School of Music.
It is a shame that there are not many applications outside of music production that support the MIDI protocol as MIDI controllers can be really useful in disciplines like 3D-modelling, video and image editing and more.
Fortunately, some talented developers have created Python libraries that eases communication with MIDI controllers greatly. Here is an example message recieved with the Python library Mido,
note_on channel=10 note=8 velocity=127 time=0
# Python libraries
To recieve MIDI messages from a MIDI controller I will use the aforementioned Python library Mido. Mido is short for MIDI objects and is a library that handles pretty much all your communication needs with MIDI-capable devices.
This makes it super simple to make scripts that take MIDI input and do something with it. We will look at this in detail later.
Mido is installed with pip:
pip install mido
I had trouble with importing the library afterwards as I was seemingly missing the library rt-midi. This can easily be fixed by also installing the library python-rtmidi with pip.
# PyAutoGUI
We want to do something with the MIDI input now that we know how to obtain it. I needed something that could simulate keyboard presses because my main use case is to run keyboard shortcuts. I discovered the very capable Python library PyAutoGUI and immediately found that it would satisfy my requirements. This library is really cool; it can send keystrokes, take screenshots, and emulate a mouse, among other things.
The library PyAutoGUI might trigger anti-cheat solutions found in many games and more. Be careful not to have it running when playing games or interacting with other applications where such software could be problematic. This could potentially lead to being banned from the game/application.
PyAutoGUI is installed with pip:
pip install pyautogui
There are plenty nice examples of how to setup PyAutoGUI in the documentation.
# Code
Let us get into some coding. I will cover handling input from a MIDI controller and sending keystrokes.
# Getting input
First, ensure that the MIDI controller is connected to the computer and is powered. We first need to find the port where the MIDI controller is communicating with the computer. We can use the next three lines of code to accomplish this:
import mido

print(mido.get_output_names())
print(mido.get_input_names())
We will then get the output ports and input ports. Note that these ports might be different depending on the operating system, i.e. if dual booting or using the controller across multiple computers.
On my computer I get that the input port for my X-Touch mini is X-TOUCH MINI 0.
We now need to open the input port, wait for messages and print the messages. We can accomplish this by using the subsequent code:
import mido

with mido.open_input('INPUTPORT') as inport:
        for msg in inport:
            msg = msg.bytes()
            print(msg)
running this code should print some exciting MIDI messages as bytes in the CMD when pressing buttons on the controller. You should see messages like this in your command line,
[154, 8, 127]
[138, 8, 0]
[154, 9, 127]
[138, 9, 0]
We are now getting input; however, we now need to build some logic to convert these messages to keystrokes.
# Understanding MIDI messages as bytes
As you might have discovered whenever you press a button on the MIDI controller we are getting two messages: the first message is for pressing the button and the second message is for releasing the button. This could be useful in some situations, but personally I am only interested in the action of pressing a button. Thus we need to sort out the button releases.
For my controller I can differentiate button presses and releases by the first entry of the list returned by msg.bytes() thus I introduce the additional logic:
import mido

with mido.open_input('INPUTPORT') as inport:
        for msg in inport:
            msg = msg.bytes()
            if msg[0] == RELEASEID: # for me the releaseid is 138
                pass
            else:
                print(msg)
Now you should only see messages for button presses, i.e
[154, 8, 127]
[154, 9, 127]
Next up we want to differentiate buttons from one another. On my controller I can do so by the second entry of msg.bytes(). The buttons are indexed from 0 to 47. Say we want to make button 1 do something. Let us add the following logic to the script:
import mido

with mido.open_input('INPUTPORT') as inport:
        for msg in inport:
            msg = msg.bytes()
            if msg[0] == RELEASEID:
                pass
            else:
                if msg[1] == BUTTONONE:
                    print(msg)
Now you should only see the message whenever button one is pressed. In this way I think I have given a general idea of how you can write logic around the MIDI messages in bytes format. This can of course be done more effectively, but the simple code above is just to clarify how the logic can be handled.
# Sending keystrokes
With PyAutoGUI it is very simple to send hotkeys, just take a look at the following code:
import pyautogui as pg

pg.hotkey('key1','key2',...) # sends keybinding
Be cautious when implementing your scripts! Say you implement some loops or similar, if your code is not working as expected you may end up sending a ton of keystrokes to your computer that could wreck havoc!
For a list of available hotkeys with PyAutoGUI check out the documentation. Now we can easily implement sending keys in the script:
import mido
import pyautogui as pg

with mido.open_input('INPUTPORT') as inport:
        for msg in inport:
            msg = msg.bytes()
            if msg[0] == RELEASEID:
                pass
            else:
                if msg[1] == BUTTONONE:
                    pg.hotkey('key1','key2',...)
# Conclusion
In this post I have demonstrated how to use the Python library Mido to receive MIDI messages, understand MIDI messages, apply logic to distinguish between them, and use PyAutoGUI to translate them into keystrokes. Consequently, allowing you to leverage MIDI controllers to boost productivity in your preferred applications that lack native support for the MIDI protocol.
Gibson, J. (n.d.). The MIDI Standard: Introduction to MIDI and Computer Music: Center for Electronic and Computer Music: Jacobs School of Music. Cecm.indiana.edu. https://cecm.indiana.edu/361/midi.html ↩